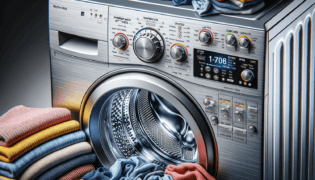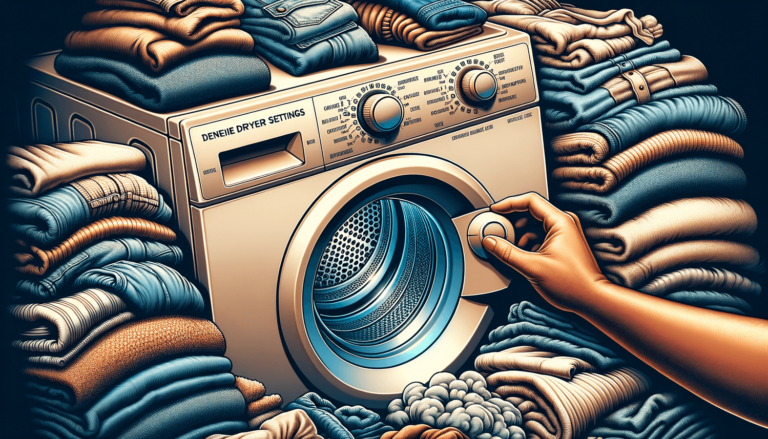


Welcome to our comprehensive guide on KitchenAid Dryer Settings Explained, your one-stop resource for understanding the multitude of options found on your trusted KitchenAid appliance. In this blog post, we will demystify the various KitchenAid Dryer Settings, helping you to optimize your dryer use and enhance its performance for perfectly dry and wrinkle-free clothes every time. Stay tuned and become an expert in utilizing your KitchenAid dryer to the fullest.
Here are the primary KitchenAid Dryer Settings you need to know:
These settings determine the drying program for your load based on fabric type, weight, and moisture level:
Adjust the dryer’s moisture-sensing technology by choosing your preferred level of dryness:
Select the desired drying temperature based on fabric care instructions:
Allows manual adjustment of the drying duration, especially useful for small loads or finishing up damp items:
These options help mitigate wrinkles and creases in your clothes:
Audible alerts inform you when the drying cycle is complete, adjustable for volume or turned off entirely.
Enhance your drying expertise with these key insights and become a true Settings King!
Opt for the EcoBoost option to save energy and reduce your carbon footprint without compromising on dryer performance. Keep in mind that enabling EcoBoost may extend drying time slightly.
For lightly worn items that need a touch of freshness without rewashing, use the Quick Freshen option. This setting uses dryer settings with a short, tumbling cycle and just the right amount of heat to revive garments.
For deep cleaning and eliminating bacteria from clothing or home textiles, opt for the Sanitize Cycle. It utilizes high heat settings for an extended duration to ensure thorough sanitization.
Here at Settings King, we understand the importance of providing valuable and actionable information. With that in mind, consider the following combinations of KitchenAid dryer settings for optimal results on common loads:
Choose the Permanent Press cycle with a Low temperature setting to protect your synthetic and moisture-wicking fabrics.
For blankets, comforters, or other large items, select the Bulky cycle with a Medium or High temperature setting, depending on the fabric care instructions. This combination ensures effective drying without damaging your items.
Dry sheets and pillowcases using the Normal cycle on a Medium or Low temperature setting, depending on the fabric type.
By mastering and implementing these KitchenAid dryer settings, you can efficiently obtain perfectly dried clothes while saving time and energy. Never underestimate the power of a well-set dryer, and be sure to keep exploring Settings King for more valuable insights on technology settings.
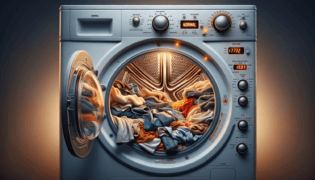
Even after mastering the various dryer settings, it’s essential to know how to tackle potential challenges that may arise. Here at Settings King, we’ve got you covered with tips to help you troubleshoot common issues with your KitchenAid dryer.
If your garments don’t come out as dry as you’d prefer, consider these recommendations:
Noises are not uncommon during use, but some sounds may indicate issues. Follow these tips to address noise-related concerns:
It can be frustrating to find your load taking longer to dry than expected. To help expedite the drying process, consider these suggestions:
At Settings King, we’re dedicated to helping you master the technology settings on the appliances you use daily. Keep exploring our blog to continue expanding your skills and make the most of your KitchenAid dryer and other appliances.
We understand you may have some additional questions related to KitchenAid Dryer Settings. To address these concerns, we’ve compiled a list of the most frequently asked questions about the topic along with their appropriate answers.
To prevent shrinkage, it is essential to follow the fabric care labels on garments and adjust the dryer settings accordingly. For delicate fabrics, use a lower temperature and gentler cycle. If you’re unsure, opt for air drying to eliminate the risk of shrinkage completely.
It’s recommended to clean the lint filter after every load to maintain proper air circulation and drying efficiency. Regular lint filter cleaning also prevents possible fire hazards due to lint build-up.
To minimize static cling, consider using fabric softener during the wash cycle, dryer balls or dryer sheets during the drying cycle, or opting for a low heat setting in the dryer. Alternatively, you can also let clothes air-dry partially before transferring them to the dryer for a short tumbling cycle.
Extended drying times can occur due to various factors, including incorrect dryer settings, overloading, blocked airflow, or damp clothes from an inadequate washer spin cycle. To resolve this issue, ensure you’re selecting appropriate settings, separating clothes by fabric type and weight, and regularly cleaning the lint filter.
While most fabrics can tolerate dryer sheets or fabric softener, they’re not recommended for some materials, like moisture-wicking fabrics and microfiber. Always refer to the fabric care label on your garments to ensure the safe use of these products.