


Written by: Settings King
Last updated:
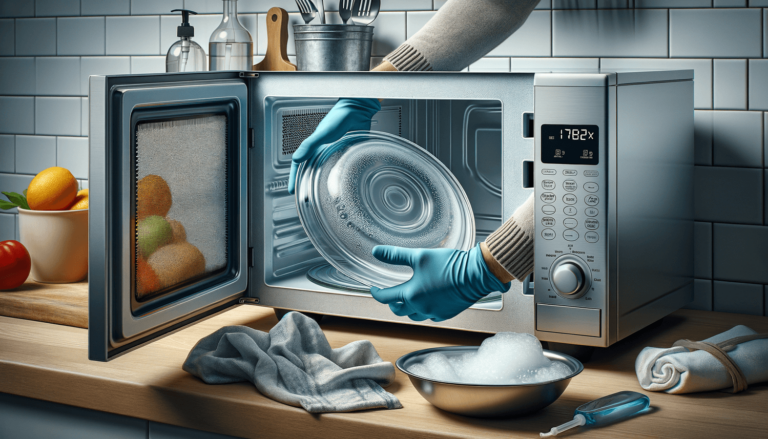
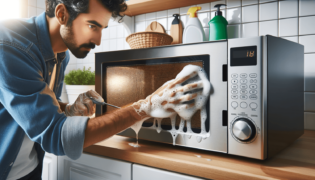
Removing a microwave turntable for cleaning is simple. First, make sure the microwave is turned off and unplugged. Open the microwave door and lift the turntable up gently. Most turntables are seated on a rotating ring with wheels; lift both the glass plate and the ring simultaneously. If your microwave has a coupling (the piece in the center that turns the plate), gently twist and pull it off. Now, your microwave turntable and its components are ready for cleaning.
Quick summary
At Setting King, we’re committed to giving you trusted advice on maintaining your appliances. Ensuring your microwave turntable is clean is essential for both hygiene and the appliance’s performance. Dirt and food particles can hinder the turntable’s smooth rotation, affecting how your food cooks. Let’s dive deeper into each step to ensure you’re fully equipped to keep your microwave in top-notch condition.
Safety first! Always ensure your microwave is turned off and unplugged before starting. This precaution avoids any risk of electric shock.
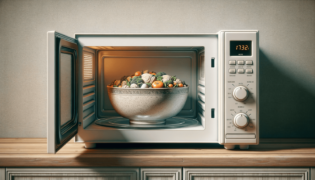
Open your microwave door fully to access the turntable easily.
Grip the edges of the glass plate gently yet firmly, and lift it out of the microwave. Place the glass plate on a safe surface to prevent it from breaking.
Under the glass plate, you’ll find a rotating ring with wheels, designed to support the turntable and enable it to rotate smoothly. Lift this ring out carefully. Note any specific alignments or grooves that will assist in reassembly later.
If your microwave has a central coupling that connects the turntable to the motor, gently twist and pull it upwards to detach it. Not all microwaves have a removable coupling, so if yours doesn’t, simply clean around it.
With the turntable, rotating ring, and coupling (if applicable) removed, you’re now ready to clean.
Once each part has been thoroughly cleaned and dried, reassemble by placing the coupling back (if it was removed), situating the rotating ring, and finally positioning the turntable back on top. Secure everything in place, ensuring the turntable rotates smoothly. With these steps, your microwave turntable will not only be clean but also operate more efficiently. Remember, keeping up with regular cleaning after use can prevent food and dirt buildup, making this process even easier in the future.
At Setting King, we know that caring for your appliances correctly extends their lifespan and ensures better performance. By following these steps, you’re on your way to maintaining an essential part of your kitchen.