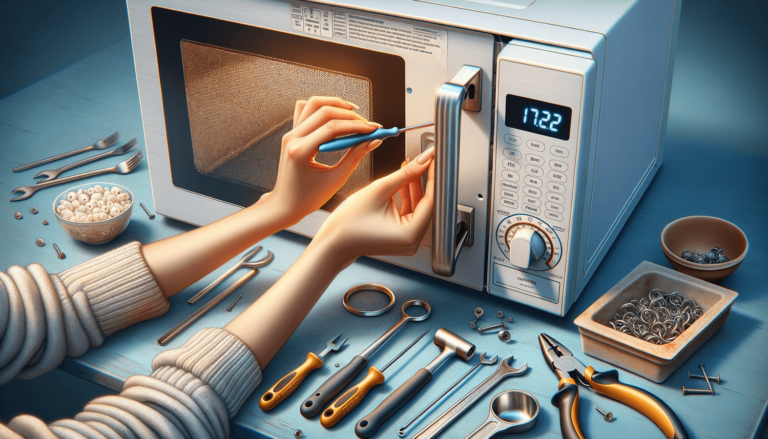

Replacing a microwave door handle is essential when it’s damaged or broken. This task can often be done at home without professional help. Understanding the specific steps involved ensures a smooth replacement process, keeping your microwave functional and safe. The process typically involves removing the door from the microwave, dismantling the inner panel to access the screws, and replacing the handle before reassembling the door. This guide is designed to provide instructions tailored to most microwave models, giving you all the necessary details to confidently replace your microwave’s door handle.
Quick Summary
Before starting any repair work on your microwave, safety must be your top priority. Ensure the appliance is unplugged and completely cool before attempting to replace the door handle. Gather all necessary tools such as a screwdriver, a putty knife or a flat-blade tool for prying, and of course, the replacement handle specific to your microwave model. Gloves can protect your hands during the process.
First, you need to remove the microwave door. This can usually be done by opening the door and locating the hinge pins or screws that hold it in place. In some models, you might need to remove a plastic cover to access these. Use a screwdriver to cautiously remove these pins or screws, and gently lift the door off its hinges.
With the door removed, you’ll need to access the screws that secure the handle. This often requires removing the inner door panel, which can be snapped in place or screwed. Carefully use a putty knife to pry the panel open or remove any screws, taking care not to damage the door.
Once you have access, remove the screws holding the old handle. Note how the handle is positioned, as you’ll need to place the new handle in the same orientation. Secure the new handle with screws, ensuring it’s tight and properly aligned. It’s crucial to use the screws provided with the new handle or those that exactly match the original ones to prevent damage.
After the new handle is secured, reattach the inner door panel by snapping it back into place or screwing it in. Ensure that it fits securely without any gaps. Reattach the door to the microwave, ensuring that it’s properly aligned and the hinges are secure. Once the door is reassembled, test the handle and door functionality to confirm that the repair is successful.
Replacing a microwave door handle is a straightforward task that can significantly extend the life of your microwave. By following these steps, you can ensure a smooth and safe repair process. At Setting King, we’re dedicated to providing you with trusted advice that helps you maintain your appliances efficiently. Remember, it’s important to use the correct tools and replacement parts specific to your microwave’s model, ensuring a perfect fit and optimal performance. Safety should always come first, so make sure you take all precautionary measures before starting your repair.
By tackling this repair yourself, you not only save on the cost of a professional service call but also gain the satisfaction of a job well done. Keep your kitchen appliances running smoothly with these practical, do-it-yourself solutions from Setting King.