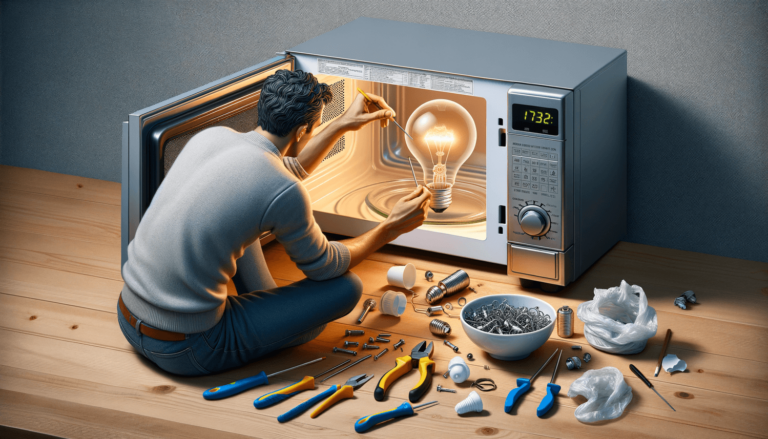

To replace a microwave light bulb, begin by ensuring the appliance is unplugged and cool. Locate the bulb cover, which is usually on the side or back of the microwave’s interior. Remove the cover by unscrewing or gently prying it off, depending on its design. Take out the old bulb and replace it with one of the same type and wattage. Secure the cover back in place, plug in the microwave, and test the new bulb. This straightforward task requires minimal tools and can be completed quickly.
Quick summary
At Setting King, we understand that even simple tasks like changing a microwave light bulb can seem daunting if you’ve never done it before. Here’s everything you need to know to make this task as easy as possible.
First, safety is paramount. Ensure the microwave is unplugged and completely cooled down to avoid any risk of electric shock or burns. Gather the necessary tools, such as a screwdriver, which you’ll likely need to remove the bulb cover. It’s also smart to have a flashlight handy to see inside the microwave more clearly.
The light bulb in a microwave is usually hidden behind a cover inside the unit. Sometimes the cover is screwed in, and other times it might snap off with a gentle pry. Each microwave model is slightly different, so refer to your manufacturer’s manual if you’re unsure. Once you locate and remove the cover, carefully unscrew the old bulb. Some bulbs might pull straight out, while others twist to unlock.
It’s crucial to replace the old bulb with one of the same type and wattage to ensure safe operation and prevent damage. Microwave bulbs are not one-size-fits-all; they vary in size, base type, and power. Your microwave’s user manual will list the specific bulb needed, or you can bring the old bulb to the store to find a match.
With the right replacement bulb in hand, carefully insert and secure it in the socket. Be gentle to avoid damaging the new bulb. Replace the cover by screwing it in or snapping it back into place, ensuring it’s secure.
After replacing the cover, plug the microwave back in and test the new bulb by turning on the microwave. If the light illuminates without any issues, you’ve successfully replaced your microwave light bulb. If not, make sure the bulb is correctly installed and that there are no other issues with your microwave.
Here are a few extra tips from us at Setting King to make replacing your microwave light bulb a smooth process:
Replacing a microwave light bulb is a simple DIY task that you can complete in just a few minutes. With the right preparation and a bit of care, you can safely and efficiently tackle this maintenance task, keeping your microwave in top working condition.