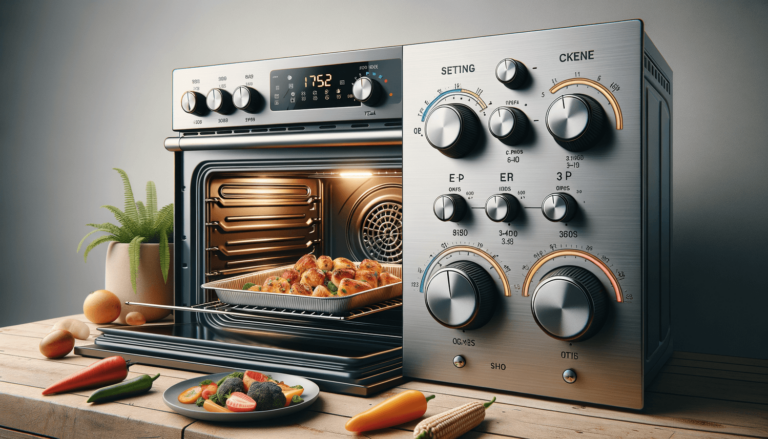

Welcome to our in-depth guide on Fisher & Paykel Oven Settings! In this blog post, we will unveil the unique features and functions of these innovative ovens, help you understand their varying modes, and provide practical tips to get the most out of your cooking experience. Whether you’re a seasoned chef or a beginner exploring your brand-new Fisher & Paykel oven, this article aims to be your ultimate resource for mastering the art of Fisher & Paykel Oven Settings.
Below is a comprehensive guide on the various settings, modes, and types of Fisher & Paykel Ovens.
Fan Bake enables even heat distribution from the top and bottom elements, while a fan circulates the heated air. This setting is ideal for baking multiple trays and sheets of cookies, pastries, and pies.
In this setting, the fan circulates heat coming from the rear elements. Fan Forced mode offers consistent, uniform heat throughout the oven, perfect for multi-shelf cooking, roasting meats, or baking delicate desserts like soufflés.
Fan Grill uses the top element combined with a fan for distributing air. This setting is great for cooking larger cuts of meat without the need to turn them over, providing a moist interior and crisp exterior.
Classic Bake uses the top and bottom elements without any fan assistance. This mode suits traditional baking and recipes that require steady heat, such as cakes, bread, and casseroles.
The Grill setting directs heat from the top element. It’s perfect for quick cooking, browning, and toasting dishes like grilled cheese sandwiches, open-faced melts, and bruschetta.
Specifically designed for baking pizza and pastry, this setting provides heat from the bottom element and an additional rear element. It helps create crispy pizza bases and perfectly browned pastry crusts.
The Warm setting gently circulates heat around the oven to maintain low temperatures, ensuring your food stays warm without overcooking. This is perfect for proofing dough or keeping dishes warm until you’re ready to serve.
Fisher & Paykel offers pyrolytic self-cleaning ovens that use high temperatures to incinerate food residue. This setting allows you to clean your oven effortlessly, turning grease and residue into ash that can easily be wiped away.
At Settings King, we empower you to make the most of your cooking endeavors by providing expert tips on oven settings. Here’s how you can accomplish common oven functions using Fisher & Paykel Oven Settings:
For even browning of multiple trays, simply preheat your oven using the Fan Bake setting. Once preheated, arrange your trays or sheets leaving ample space for air to circulate, ensuring picture-perfect pastries every time.
When it comes to roasting with the Fan Forced setting, place the meat or vegetables on a tray, and position the tray on the desired shelf. You might want to use a roasting rack for better heat circulation resulting in even cooking.
To achieve a caramelized exterior on your dishes, start by sticking to the Grill setting. Remember to place the dish closer to the top element for fast, crunchy results while keeping a keen eye to prevent burning.
To ace the art of bread making, preheat your oven using the Classic Bake setting and let your dough rise in a warm environment. In the case of pies and pizzas, choose the Pastry Bake + Pizza setting to master flawless crusts.
If you face any difficulties while using oven settings, don’t hesistate to consult the user manual provided by Fisher & Paykel. Additionally, our comprehensive guides at Settings King are just a few clicks away, offering all the guidance you need for seamless cooking experiences.
As you become proficient with Fisher & Paykel oven settings, optimizing energy efficiency should be an essential part of your cooking. By understanding your oven and making smart choices, you can save energy while still creating delectable meals. At Settings King, we’re passionate about helping you make smart, environmentally friendly choices using technology.
Each oven setting is designed for specific purposes, and utilizing the right setting for your dish allows your oven to work efficiently. For instance, use the Fan Forced setting for multi-shelf cooking, as it heats the oven space uniformly.
Save energy and time when using the features of Fisher & Paykel oven settings by scheduling your cooking sessions. If you have meals that require different oven settings, preheat only once and transition to the next dish after you’ve cooked the first one.
The type of cookware you choose also plays a crucial role in the energy efficiency of your oven. Heat retaining cookware, like cast iron or ceramic, enables you to lower the temperature settings while maintaining brilliant cooking results.
Keeping your oven clean and well-maintained contributes significantly to its efficiency. Regular inspections and maintenance, such as ensuring the door seals work correctly, contribute to optimal energy performance.
At Settings King, our mission is to help you optimize your Fisher & Paykel oven settings and achieve culinary excellence. Use our expert tips to guide you in making the most of your appliance, while enjoying energy-efficient, fulfilling cooking experiences.
We’ve compiled a list of common questions and answers related to Fisher & Paykel oven settings, providing further guidance for your cooking adventures. Check out the FAQs below for more insights!
For baking cakes, it is recommended to use the Classic Bake setting, as it provides steady heat from the top and bottom elements, creating a perfect baking environment for cakes.
To prevent uneven browning of your pastry, use the Pastry Bake + Pizza setting, which provides heat from the bottom element and an additional rear element, ensuring an evenly browned and crispy crust.
It’s best to leave the oven door slightly ajar when using the Grill setting. This helps release some of the excess heat, preventing your food from burning or overcooking while allowing the proper circulation of air.
For multi-shelf cooking, it’s best to use the Fan Forced setting. Arrange your trays or shelves in such a way that there’s enough space between them for optimal air circulation, ensuring even cooking.
The frequency of using the self-cleaning function depends on how often your oven is used and the level of residue buildup. As a general rule, running the self-cleaning feature once every few months should be sufficient for maintaining a clean oven.