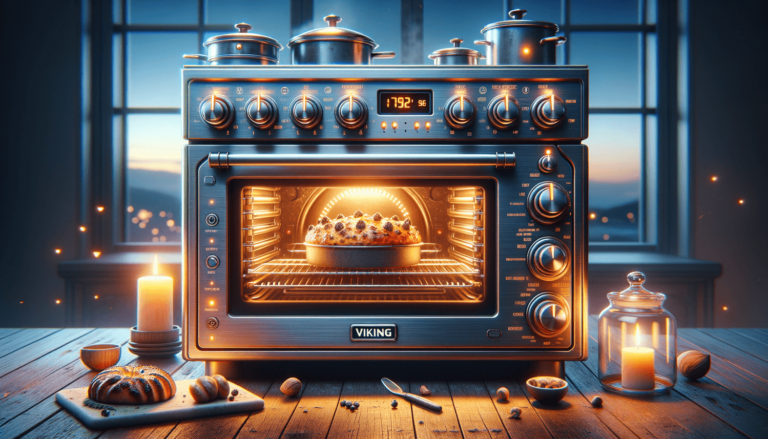

If you’re a proud owner of a Viking range or are considering investing in one, understanding the ins and outs of Viking Oven Settings is crucial to make the most out of your culinary experience. In this blog post, we will break down the various features and settings of Viking ovens, helping you to become a master chef in your own kitchen. Join us as we delve into the world of Viking Oven Settings, exploring each option and providing you with guidance on when and how to use them for scr
There are several basic oven settings in a Viking oven to help you achieve perfect cooking results for every dish. These settings include:
Some Viking ovens come equipped with additional settings that offer more specialized cooking capabilities. These advanced settings include:
To make the most of your Viking Oven Settings, the Settings King has compiled some advice to support tried-and-true cooking techniques, ensuring exceptional results:
At Settings King, we’re all about helping you find the best oven settings for each dish. Here are some popular combinations that can elevate your cooking experience:
Utilize Convection Bake at a slightly lower temperature and an extended cooking time compared to a standard oven setting. This approach ensures the chicken cooks evenly while retaining its succulent juices.
Achieve a crispy crust and soft interior texture by starting the loaf with TruConvec™ Convection Cooking. Once the loaf has risen, switch to a Bake setting to finish it off for an evenly cooked inside.
Use the standard Bake setting for the custard base, ensuring a smooth and even cook. To caramelize the sugar topping, switch to the Broil setting just before serving for that professional chef’s touch.
No matter your cooking preferences, Settings King is committed to helping you unlock the full potential of your Viking Oven Settings, using technology to upgrade your culinary adventures. Here are some innovative uses for your Viking oven that you may not have considered while exploring oven settings:
Satisfy your cravings for a healthy snack with homemade potato chips using the Dehydrate setting. Thinly slice potatoes, lightly coat them with oil and your favorite seasoning, and let your oven do the rest!
You don’t need specialized equipment to make yogurt at home. Place a mixture of milk and live yogurt cultures in your Viking oven, using the Proof setting to maintain the low-temperature environment required for fermentation.
Impress your guests by cold smoking cheese, nuts, or salmon using a smoking gun. After infusing your chosen ingredients with the desired smoke flavors, use the Defrost setting for gentle air circulation, ensuring each bite is packed with smoky elegance.
As experts in technology settings, Settings King knows that the right tools can make a world of difference in your kitchen. Here are some recommended accessories that can enhance your Viking Oven Settings experience:
A world of culinary creativity is at your fingertips, thanks to the versatility and innovation of Viking Oven Settings. With guidance from Settings King, you’re just a few steps away from achieving remarkable results in your everyday cooking – happy cooking
If you still have some lingering questions about your Viking oven settings, you’ve come to the right place. We’ve compiled answers to some of the most common questions related to the contents of this blog post. Set forth on your journey to create fantastic meals, armed with a deeper understanding of your Viking oven’s capabilities.
Depending on the dish you’re preparing and the oven setting you’ve chosen, the best rack position may vary. As a general rule of thumb, placing the rack in the center position works well for most dishes. Convection settings require proper airflow; consult your Viking oven manual for the recommended rack positions for specific modes.
If your oven does not feature TruConvec™ Convection Cooking, you can use the standard Convection Bake setting, which will still distribute heat evenly using the oven’s fan. It combines fan-power with top and bottom heating elements, offering excellent heat distribution and cooking efficiency.
Cleaning your oven regularly is vital to ensure its optimal performance. For quick clean-ups, wipe down the oven after each use with a mild detergent and warm water. For deep cleaning, use the self-cleaning function according to your oven’s instruction manual, removing any oven racks and accessories before initiating the cycle. For models without a self-cleaning feature, use an oven cleaner recommended for your oven’s interior.
When using the Convection Bake setting, reducing the cooking temperature by approximately 25°F compared to the traditional baking temperature is the most common practice. You can maintain the same cooking duration, as the lower temperature and convection feature work together to cook food evenly and efficiently.
Preheating the oven is generally recommended to achieve accurate cooking times and consistent results. While preheating times may be shorter for convection modes, allowing the oven to reach the desired temperature ensures a proper cooking environment for your dish, optimizing the chosen oven setting’s performance.