


Replacing a refrigerator door seal, also known as a gasket, is a straightforward task that can significantly improve your refrigerator’s efficiency. Over time, seals can wear out or become damaged, leading to air leaks that make your fridge work harder than it needs to. This guide will walk you through the steps to replace a door seal, ensuring a tight, energy-efficient closure.
Quick Summary
First, ensure you purchase the correct door seal for your refrigerator model. You can find this information in your fridge’s manual or by looking up the model number online.
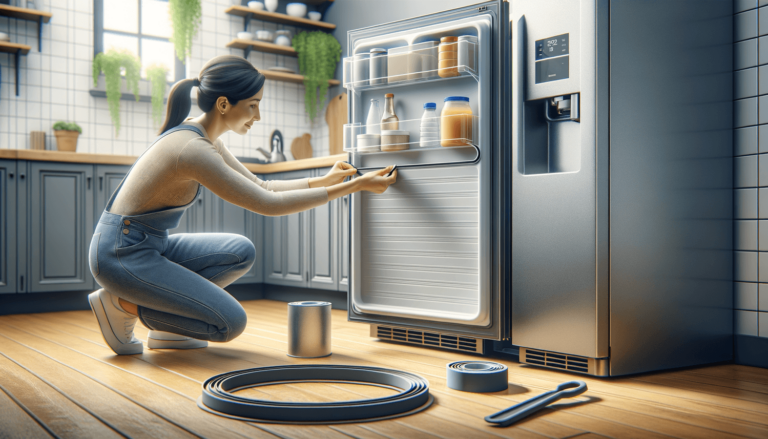
Begin by opening your refrigerator door and locating how the seal is attached. Most seals are fixed with screws or are snapped into a track. Use a screwdriver to gently loosen the screws or gently pull the seal out if it’s in a track. Be careful not to damage the door liner.
With the old seal removed, it’s crucial to clean the area where the seal fits. Use a mixture of warm water and mild detergent to remove any grime or residue. Ensure the surface is dry before proceeding.
Start by laying the new seal in place, beginning at the top corners of the door. If your seal uses screws, loosely attach them first, then adjust as needed to ensure a snug fit before tightening them completely. For seals that snap into place, begin at one corner and work your way around, pressing firmly to secure the seal.
After installation, close the refrigerator door and inspect all sides for gaps or areas where the seal might not be tight. A common method to test the seal is the dollar bill test: close the door on a dollar bill and if you can pull it out easily, the seal may not be tight enough.
At Setting King, we recommend checking your refrigerator’s door seal periodically for wear and tear. Replacing a worn-out seal is not just about efficiency; it’s also about safeguarding your refrigerator’s longevity. Moreover, patience is key when fitting the new seal – it’s better to adjust several times for a perfect fit than to rush and end up with a poor seal.
Replacing your refrigerator door seal is a valuable maintenance skill that can save on energy costs and prevent undue strain on your appliance. By following this guide, you should feel confident in tackling this task successfully. Remember, a well-sealed fridge is a happy fridge, and at Setting King, we’re all about keeping your appliances in top shape.