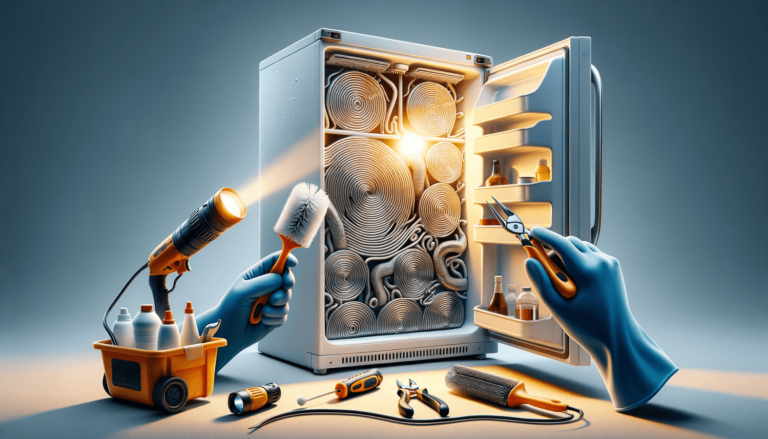

Cleaning refrigerator coils is a simple, yet essential maintenance task that enhances your appliance’s efficiency and longevity. By removing dust, pet hair, and other debris from the condenser coils, typically located either under the fridge or behind it, you ensure your refrigerator runs cooler with less energy. This guide from Setting King provides a straightforward approach to keeping your coils clean, starting with unplugging your fridge for safety, then vacuuming, brushing, and finally, wiping down the coils for optimal performance.
Quick summary
At Setting King, we’re all about providing trusted advice to make your home appliances run smoothly. Let’s dive deeper into each step to ensure you know everything necessary for cleaning your refrigerator coils effectively.
For safety reasons, always start by unplugging your refrigerator. This prevents any chance of electrical shock and also stops the fan inside the condenser unit from turning on while you’re cleaning.
Refrigerator coils can be found either at the back of the refrigerator or beneath it. Models with coils on the back are generally older. For coils located under the refrigerator, you may need to remove a kickplate or grille, which usually snaps off or is secured with screws.
Using a crevice attachment, gently vacuum the coils. Avoid pressing too hard to prevent bending the fins. Vacuum around the area to prevent future dust from quickly reattaching to the coils.
If you encounter stubborn dirt and dust, gently use a refrigerator coil brush. These are specially designed to remove debris without damaging the coils. Gently brush in a direction that goes along with the fins, not against them.
After vacuuming and brushing, gently wipe the coils with a soft cloth to remove any lingering dust. If you had to remove a grille or kickplate, now is the time to replace it. Ensure everything is securely in place.
Once the coils are clean and everything is back in place, plug your refrigerator back in. Allow several hours for it to return to its normal cooling temperature. You should now notice it running more efficiently, which can also lead to lower energy bills.
Clean coils ensure that your refrigerator can release heat effectively, making it run cooler and use less energy. Over time, dust and debris can insulate the coils, reducing their efficiency and potentially leading to costly repairs. Regular cleaning, at least once or twice a year, can prolong the life of your appliance and save you money in the long run. Setting King strives to make appliance maintenance easy and understandable for everyone, ensuring your home runs smoothly and efficiently.
Remember, maintaining your refrigerator’s coils doesn’t just benefit its performance—it also impacts your wallet by reducing energy costs. Trust the tips from Setting King, and you’ll find this simple task can lead to significant savings and a happier, healthier fridge.