

Have you recently bought a new Whirlpool oven or experienced a power outage, and you’re struggling to set the clock? Worry not! In this blog post, we’ll guide you through the simple process of setting the clock on your Whirlpool oven. Follow along, and in just a few minutes, you’ll have your oven’s clock ticking and ready for your cooking adventures!
Setting the clock on your Whirlpool oven is vital to ensure that your cooking times are accurate. The process is straightforward and will only take a few minutes. Let’s dive into the step-by-step instructions on how to set the clock on your Whirlpool oven.
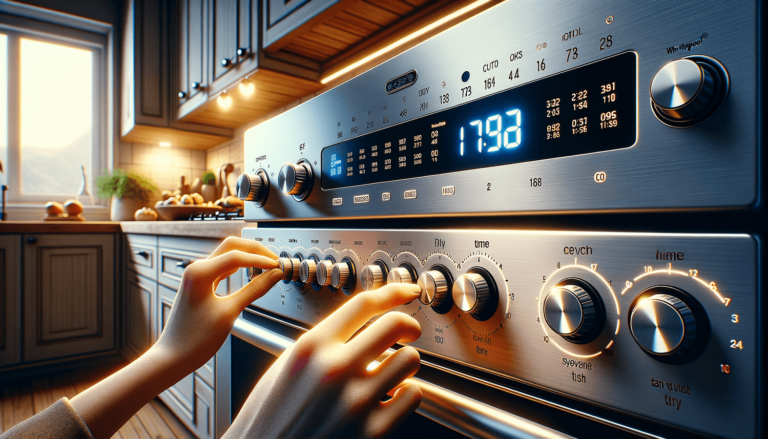
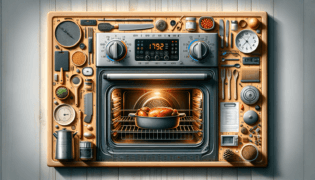
First, find the ‘CLOCK’ or ‘TIME’ button on your oven’s control panel. This button is usually in the center or towards the right side of the control panel. It might be labeled ‘CLOCK’, ‘TIME’, ‘CLK’, or ‘SET TIME’.
Press and hold the ‘CLOCK’ or ‘TIME’ button until you see the current time flashing on the oven’s display. This flashing indicates that the oven has entered the time setting mode.
Next, locate the ‘+’ and ‘-‘ buttons, which might be labeled as ‘HOUR’ and ‘MIN’ (sometimes represented by up and down symbols) on the oven’s control panel. Use these buttons to adjust the current time:
Make sure to set the correct hour (AM or PM) if your oven operates on a 12-hour clock system.
Take a moment to double-check the time you have set. Ensure that it is accurate and correctly reflects the hour and minute you want.
Press the ‘CLOCK’ or ‘TIME’ button once more or wait a few seconds for the display to stop flashing. Your oven’s clock is now set, and you’re ready for all your cooking adventures!
At Settings King, a blog about technology settings, we understand how frustrating it can be to have a poorly calibrated oven clock. Whether you’re scheduling a baking session or preparing a meal that requires precise timing, an improper clock can lead to less-than-desirable outcomes. Properly setting your Whirlpool oven’s clock is essential to enjoying your favorite dishes to their fullest potential.
While it’s crucial to set your oven clock right after the installation, there are a few instances when you’ll need to reset the time:
No need to worry! Settings King has you covered with the knowledge to reset your clock in a snap.
When you’ve successfully set the clock on your Whirlpool oven, take a moment to synchronize the time on your other kitchen appliances. Doing so will make cooking and meal planning smoother and more efficient. Synchronize your microwave, coffee maker, or any gadget with a built-in clock to ensure you always have the correct time on all your devices.
Settings King is your go-to resource for all your technology settings requirements. We’ll continue to provide you with user-friendly guides to help you navigate your appliances and gadgets with ease. The perfect culinary experience is just a few clicks away with our expert guidance!
Here’s a list of frequently asked questions and quick NLP-style answers, addressing common concerns when it comes to setting the clock on your Whirlpool oven. This FAQ section will help you navigate any issues you may face during the process.
Ensure that you’ve pressed and held the ‘CLOCK’ or ‘TIME’ button long enough for the display to start flashing. If the buttons still don’t work, you may be dealing with unresponsive buttons or a malfunctioning electronic control board that requires technician assistance.
Different Whirlpool ovens may have varying labels. Look for buttons like ‘TIME’, ‘CLK’, or ‘SET TIME’ as alternatives. Consult your oven’s user manual for specific instructions if necessary.
After entering the time-setting mode, press the ‘+’ and ‘-‘ buttons simultaneously until the display changes between the 12-hour and 24-hour systems. Not all Whirlpool ovens have this feature. Check your user manual for specific instructions relevant to your model.
Most Whirlpool oven clocks do not automatically update for Daylight Saving Time. You’ll need to manually set the clock an hour ahead (in spring) or an hour back (in fall) following the steps outlined in this blog post.
If you still encounter difficulties setting the oven clock, consult your oven’s user manual for more information. If the problem persists, contact Whirlpool customer support or a qualified technician for assistance.